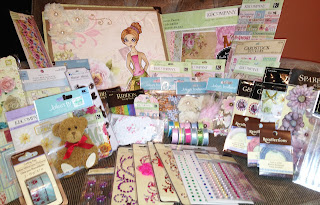
Recently I have the enthusiasm making my own craft paper. Then, I started browsing through the tutorials, YouTube and all sorts of information on 'How to make handmade paper from home'. The process is easy and fun. It is a good activity indeed; You can make it with your children at home or as part of your teaching activity (for the teacher out there).
In my case, I use shredded paper which I took from the office (sounded like a garbage collector now :p)..... soaked into hot boiling water and leave it for 24 hours. In most tutorials I have seen, they use food processor (to get a smooth mixture). I do not want to sacrifice mind which meant for cooking purposes only!!! Furthermore the shredded paper I had was a fine one. Please take note that you can utilise the unwanted food processor you have instead of forking out money from your pocket. Or you can ask around whoever willing to donate their old 'blender'. Once the paper is well blend, I scooped out with a strainer, drained then let it dry. I am satisfied and very excited with the result. It was the first try and I made it. You can use the home made for creating cards, boxes and many more (use own imagination).
To all people out there, no matter where you reside, have fun doing things you like. Do not be afraid or being low self esteem for every individual is born special. HAPPY CRAFTING & A GREAT WEEK AHEAD *-*
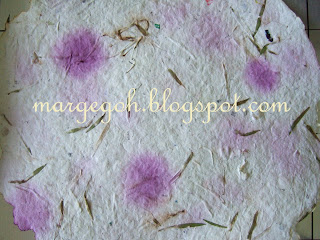 |
| 1st home made paper. Added some colouring and dried leaves. |
 |
| Just plain. |
 |
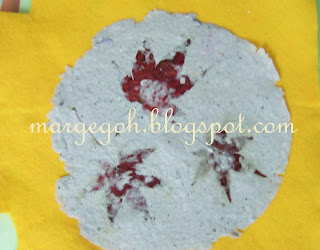
| Ground herbs from the kitchen. |
 |
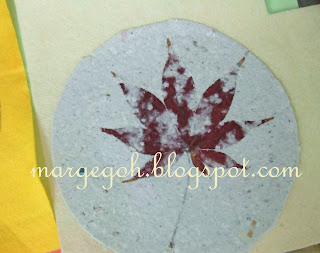
'Momiji' leaves; Gift from a friend in Japan. These leaves turn red during Autumn.
It does not cost any penny but this the type of gift I treasure most.
I have one big album of leaves collection. |
 |
| Bigger version of 'momiji' leaves. |
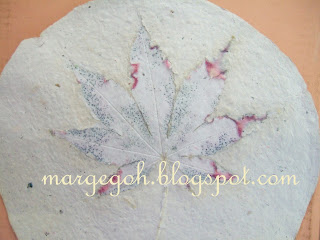 |
Once dry; Carefully detached the leaf from the paper. The leaf pigments remain on the paper.
Can be considered in a science class. |
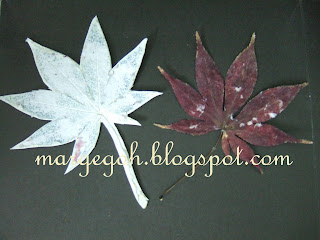 |
| Paper vs. Momiji' |
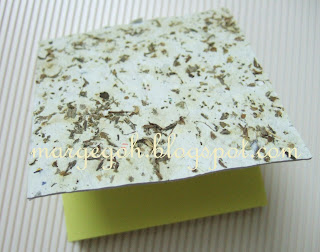 |
| Let the crafting begin. Post-it-pad cover. Used the paper with herbs. |
 |
| Inside look. |
 |
| Embellished with 'rosette' and little pink shell at the centre. |
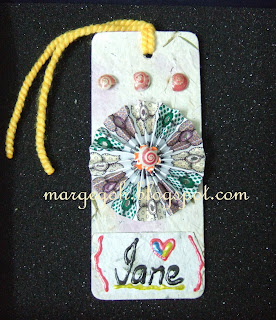 |
Bookmark with 'rosette'.
Instead of buying decorative paper it is a good idea to design and print your own. |
 |
| Bookmark with quilled flowers. |
 |
| A simple bookmark embellished with tiny shells. Used pompom instead of ordinary string. |